Description: Learn how to view, edit and create payment types in Harbortouch Retail.
- Log into the system with admin credentials.
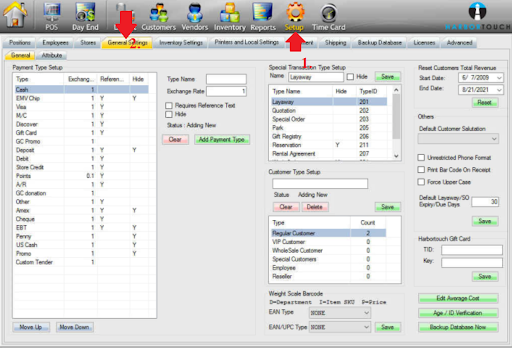
- Access the Setup menu.
- In the Setup screen, select the General Settings tab.

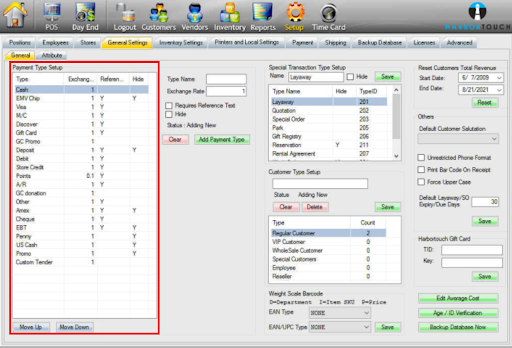
The first box in the top left corner of the screen is labeled "Payment Type Setup." Here you can view, create, and edit your payment types. You can also select an entry and use the Move Up and Move Down buttons to rearrange how your payments display when processing a sale (only the top 12 are displayed in the Full Payment window, the rest appear under "Special Payment Types").
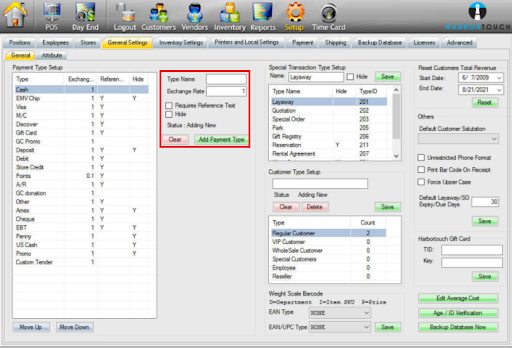
You can add new payment types or edit existing types by using the menu to the right of the payment types.
To add a new payment type:
- Enter the name of the payment type you are creating into the "Type Name" field or select an existing type from the list to the left.
- Enter the exchange rate into the "Exchange Rate" field (by default, this is set to 1).
- Place a checkmark in the "Requires Reference Text" box if the payment type you add requires a reference (check number, for example).
- Press Add Payment Type to save your changes.

Comments
0 comments
Please sign in to leave a comment.